YayBlogger.com
BLOGGER TEMPLATES
Showing posts with label urban decay. Show all posts

Monday, 19 September 2016

Urban Decay Electric Palette: Swatches + Review

Hey lovelies!

As it was my birthday recently, I got a £30 gift card to House of Frasers which I happily spent in Urban Decay on a palette I've been eyeing up for what seems like forever. It's the Urban Decay Electric palette.

I also bought a mini primer potion and it's super good too! Might do a review on that of how my eyeshadow lasts with and without it.. 


Excuse the flash but I was in terrible lighting so I had to do what I had to do. Here are the 10 beautiful shades that you have in the palette to work with and actually, a pretty decent double sided brush considering normally they're not that great.

From left to right there is: Revolt, Gonzo, Slowburn, Savage, Fringe, Chaos, Jilted, Urban, Freak and Thrash.


These eyeshadows are all immensely pigmented and people say it's hard to work with but I actually find them easy to work with, easy to build up and you can use other palettes/eyeshadows you have in combination with these to make it more "wearable" for everyday use. The palette has very pretty packaging, a decent sized mirror and ten absolutely awesome shades I feel like this will be secure and also a good purchase for my makeup kit as well as to use for myself. My favourite of the shades are Chaos (the royal blue), Urban (the deeper, shimmery purple) and Savage (the hot matte pink).

I totally think this is worth the money, I think the palette is super pretty and definitely brings out more of a creative edge with me whenever I pick it up (which has been more or less everyday since I bought it!) and I can see myself getting the use out of it... Even using some of the eyeshadows as liners with my Illamasqua Sealing Gel, it's just such a cool palette and I'm really enjoying working with it and playing with it! Obviously if you don't really like colourful eyeshadows, this isn't going to be the one for you but I'm glad I bought it as I feel like we are completely makeup soul-mates.

I hope you enjoyed this post! 

Other places to find me:

email/business - rachelgarmentmua@outlook.com


Other blog posts to read whilst you wait for a new one:

x x x

Thursday, 11 February 2016

Valentine's Day Makeup Look.

Hello lovelies!
I just thought since Valentine's Day is coming up I'd put a little V-Day inspired look on here.


Okay, so for this look I used:

Illamasqua Browcake in Gaze,
MAC Eyeshadow in Wedge,
Makeup Geek Eyeshadow in Bitten,
Urban Decay Buzz shadow from the Naked 3
Rimmel Exaggerate Mascara
Illamasqua gel liner in Infinity
MAC Glitter in 3D Silver
Makeup Revolution Ultra Cover & Conceal palette in Light
Illamasqua Skinbase in 5
NARS Radiant Creamy Concealer
MAC Soft & Gentle Highlight
Makeup Revolution Ultra Cream Contour Palette
Anastasia Beverly Hills Contour Kit - powder
Jeffree Star Velour Liquid Lipstick in Redrum

Thank you for reading! Hope you enjoyed :)

 x x x x x x x

Friday, 27 February 2015

MOTD: 21st February \\ Dark Smokey eye.


I'm gonna focus todays makeup post mostly on my eyes as my skin didn't look too great to be completely honest.
Here was my eye look though, a very dark smokey eye, similar to one I've already done on my blog before, just a touch darker and deeper under the eyes too:
For this look I used mostly the Naked Basics palette by Urban Decay but also a MAC eyeshadow. I used "Concrete" by MAC on my eyebrows if you're wondering (which as well as my skin, looked a riot on this particular day, lol, just my luck) 
I think this look is perfect on any and everyone, eye colour/shape, everyone. Just adapt it to your eye shape is all I'd say, as I generally prefer a winged out look, you might not. Obviously if you want to do this look on yourself, you can use whatever colours/brands etc you have. You do not need to go out and buy exactly what I'm using, I'm just telling you what I used incase you DO have it, because it would obviously be easier. And if you don't have it, just click on the links I've put in and it'll show you what colours to look for in your own collection to recreate this!
Anyway, steps for this look are:
  • DO NOT DO YOUR FOUNDATION FIRST. With this dark of an eye look, you are bound to get some fallout and or mess up, if you do your foundation first, you will regret it. Just like I did.
  • Prime your eyelids (and under your eye if you like) with anything you like that you feel keeps your eyeshadow on longer, whether that be Urban Decay's Primer Potion or just your normal concealer, use it. It helps. Can't stress that enough.
  • Next, with a big fluffy crease brush, put a nice brown through your crease and just above it as your transition shade, it helps with blending, A LOT, trust me. For this I used a mix of "Wedge" by MAC and Naked 2 from the Basics palette.
  • With a smaller, less fluffier crease brush, start to put the colour "Faint" more precisely through the crease. 
  • Next, with a flat eyeshadow brush, one that's used mainly to pack colour on, apply a generous amount of the colour "Crave" from the Basics palette all over the mobile lid (ie, no further than your crease) 
  • Don't panic if it's not dark enough yet, it is SO much easier to add more colour than it is to take away. Especially when working with black. Add as much as you like for however dark you'd like it to be.
  • Next, use a teensy weensy (good technical words, eh?) pencil brush to get very close to your lashline with the colour "Crave", blend that out with your big fluffy brush you used first with Wedge and Naked 2 :)
  • Next, you could apply a liner to your waterline/tightline or your upper lid. I didn't as I felt it was dark enough, and I was at my boyfriends so didn't have a kohl eyeliner on me.
  • Lastly, apply a generous amount of mascara. You may as well go out and put some pretty fierce lashes on, again I didn't because I was at my boyfriends and didn't have any onhand :)
Anyway, I hoped you enjoyed this! Got all my blog posts for the next 2 months all planned out and starting to prepare for them! 

Thank you for reading! 

xxxxx

Friday, 9 January 2015

Urban Decay Naked 3 Palette: Review/Look.

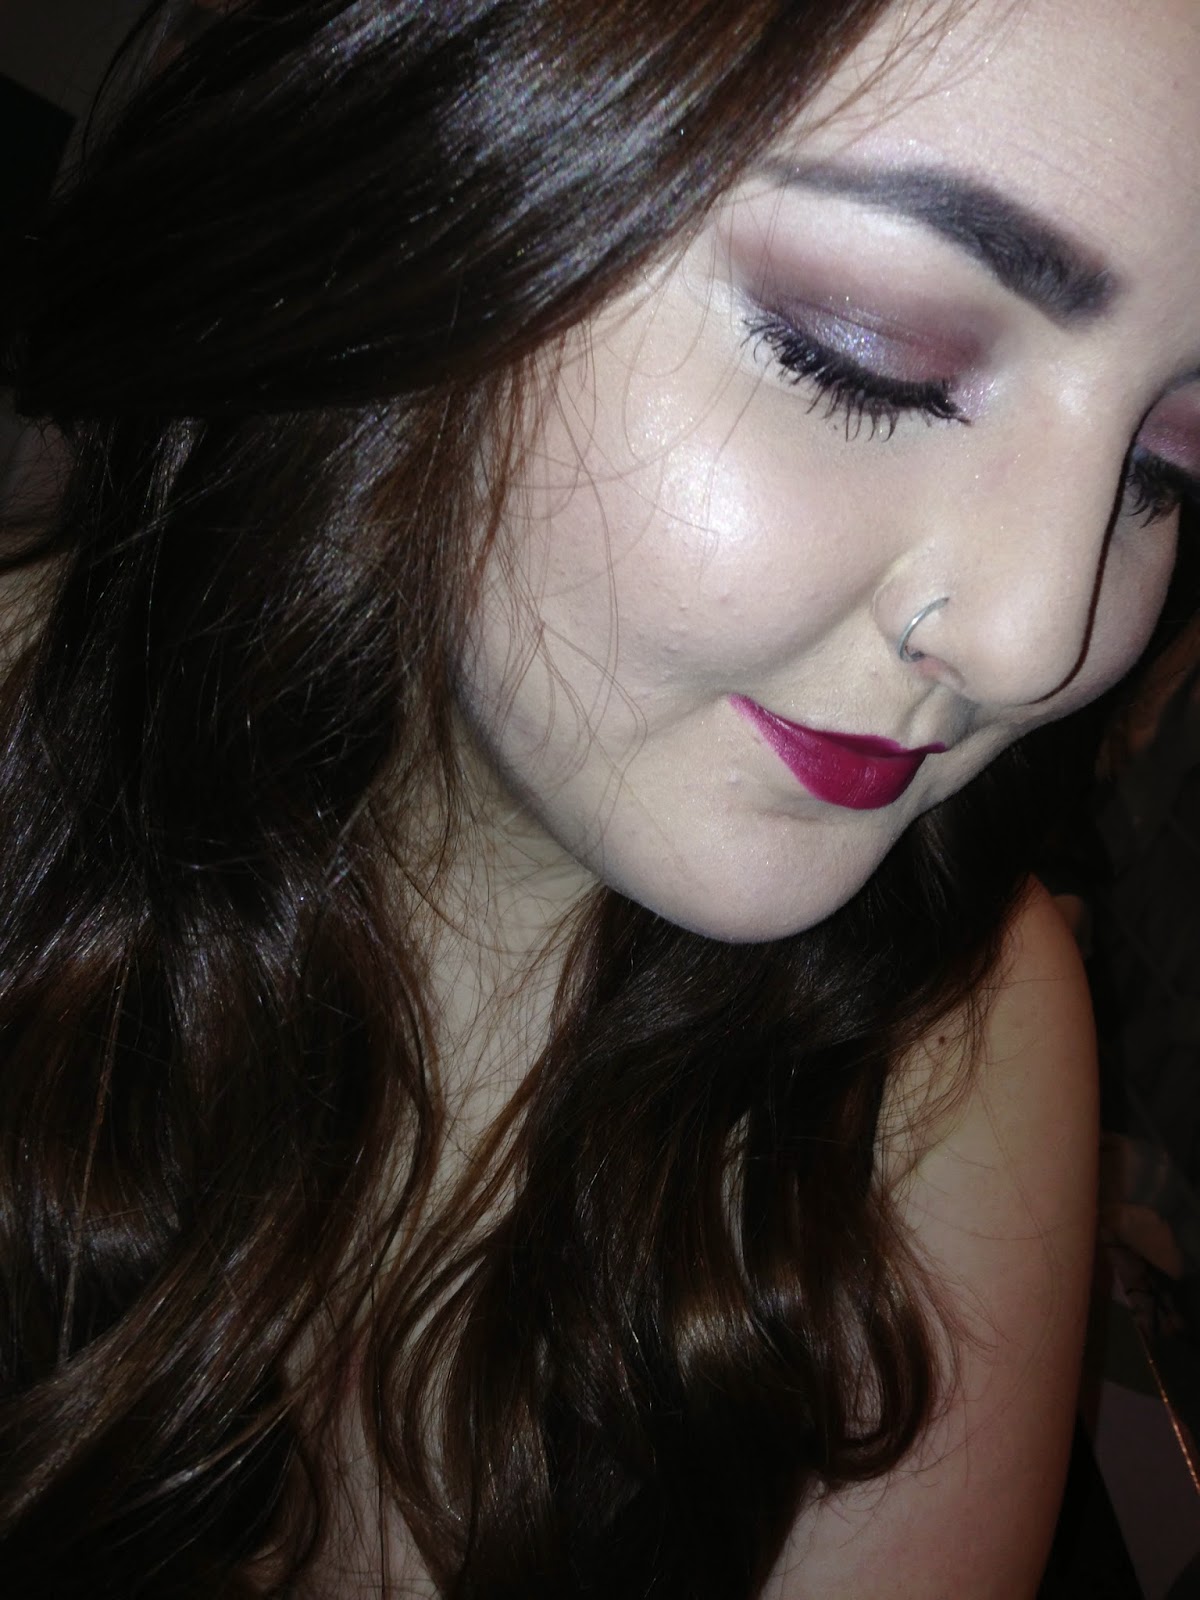
This is the look I created with my Urban Decay Naked 3 Palette (thank you Lesley if you read this :3) I'm completely in love with it. Anyway, details for my face makeup are:


For my eyes I blended 'Nooner' into the crease and 'Limit' just above that to blend it out softer. Then on the inner corner I put 'Buzz' and 'Liar' on the outer corner of my eye. I blended them both together and then re-added 'Nooner' to my crease to intensify it. I also used Strange as a brow highlight and Dust with a wet brush right in the inner tearduct. I also used Nooner on the bottom lashline.


I apologise that my photos of the Naked 3 aren't too great but it was night time when I was taking these photos and was rushing to get to my boyfriends house in time, but I took some photos with the flash and some without just to show you all :)


I absolutely LOVE this eyeshadow palette, it is without a doubt one of the best I've ever owned and I'd even go as far to say that the payoff for some of them is better than some of my MAC eyeshadows (and I love my MAC eyeshadows like they were my babies haha) the three matte shades are great, I haven't had a chance to play with the four darkest shades yet but I'm SO excited to do so, they are so beautiful. Dust I would advise anyone to use wet as the colour payoff isn't that great without it being wet, but once you've got it and you've worked with it a bit, it is AWESOME. Such a beautiful colour. My only complaint with this is that the eyeshadows do tend to fall down a bit BUT the easy way to fix that is to do your eyes first and base second OR to place a lot of translucent powder under your eyes if you have already done your base and then wipe it away when you're finished, and the fall down from the eyeshadow should disappear with it :)
Thank you for reading! :) 


Where else to find me:

Facebook - https://www.facebook.com/rachelgarmentmua or https://www.facebook.com/rachel.garment

Instagram - rachelgarmentmakeup or tod4ylovesmiledonme

Twitter - rachelgarment

ALSO - If ANYONE wants me to do their makeup for them at any time, I will do it! I would be charging a fiver for just base or just eyes and a tenner for both :) Contact me on any of the above to ask and I'll be happy to do it :)

 x x x x x x